Watercolor (liquid + dry)
Watercolor comes in many forms and any of them can be used here - tube, stick, crayon, or pencil - so long as they’re water soluble.
MATERIALS
Any form of watercolor, such as tube, stick, pencil, or crayon, will work. Gouache could also be used. The higher quality brands will give you more pigment to work with, they are softer and lay down more material. Caran d’Ache makes high quality watercolor pencils and crayons. The cheaper brands tend to be overly dry and make it difficult to build up enough material on the surface of the screen.
A very soft graphite pencil can also be used such as 6B or 8B. It can be a little difficult to get all of the image to print so I would recommend a practice print first.
You will also need a container of water nearby if you plan on wetting the materials, and a brush or two. You can use soft bristled brushes for typical watercolor work and stiffer brushes to create dry brush techniques.
Make sure you have a squeegee that is at least 1-2” wider than the image you are printing.
As far as paper is concerned, the more absorbent the better. Arches 88 Silkscreen paper is like a sponge and picks up the most detail, but there are many other papers that will work as well. A smooth surfaced paper will retain the most accuracy of your image, but textured papers can give their own unique effect to the image.
PROCESS
Generally, I find applying the watercolor to the backside of the screen works well. Otherwise, the liquid seeps through to the surface underneath. You can also place some spacers under the screen if you prefer to work on the printing side. Some people prefer this as layered color will print in the same order as it is drawn on the screen.
Apply the watercolor as you would to paper. It will react differently since it is not absorbed by the screen as it is with paper. You can capture fairly light and delicate marks/washes with this process. You can also combine watercolor with any of the other water soluble family of drawing materials. If you want to print additional ghost prints, you will need heavier marks to start with.
Let the watercolor dry completely before printing or the image will run and smear. You can use a fan or hair dryer to speed up the process.
Print the image using transparent base (clear or tinted if you wish). If your watercolor was applied especially thickly, you may find that it doesn’t transfer to the paper at first. You can flood the screen again with additional transparent base and try pushing much harder, and multiple times if necessary, with the squeegee.
When done printing, wash your screen with a gentle cleaner such as Fantastik or Simple Green and water.
ADVANCED MOVES
You can lift and rotate the screen to let the watercolor make patterns and drips and other effects.
Pressing various textures into the watercolor as it dries can also produce a wide range of textures and patterns. They can be pressed in and removed, or left to dry and removed before printing. Don’t use anything with sharp edges! I have also found a little bit of dish soap added to the mixture creates an interesting spotted, crackly texture.
The transparent base will become contaminated with drawing materials as you flood the screen, especially if you flood several times or have heavy drawing materials. You may need to replace it occasionally – or maybe you’ll like the effect.
-

1/7 A variety of materials were used here including pencil, crayon, liquid watercolor, and physical objects.
-

2/7 This is the second print taken from the image or ‘ghost’ print.
-

3/7 A contact paper stencil (in the shape of a torn notebook page) was adhered to the screen (same side as drawing materials). It was removed once theimage was dry.
-

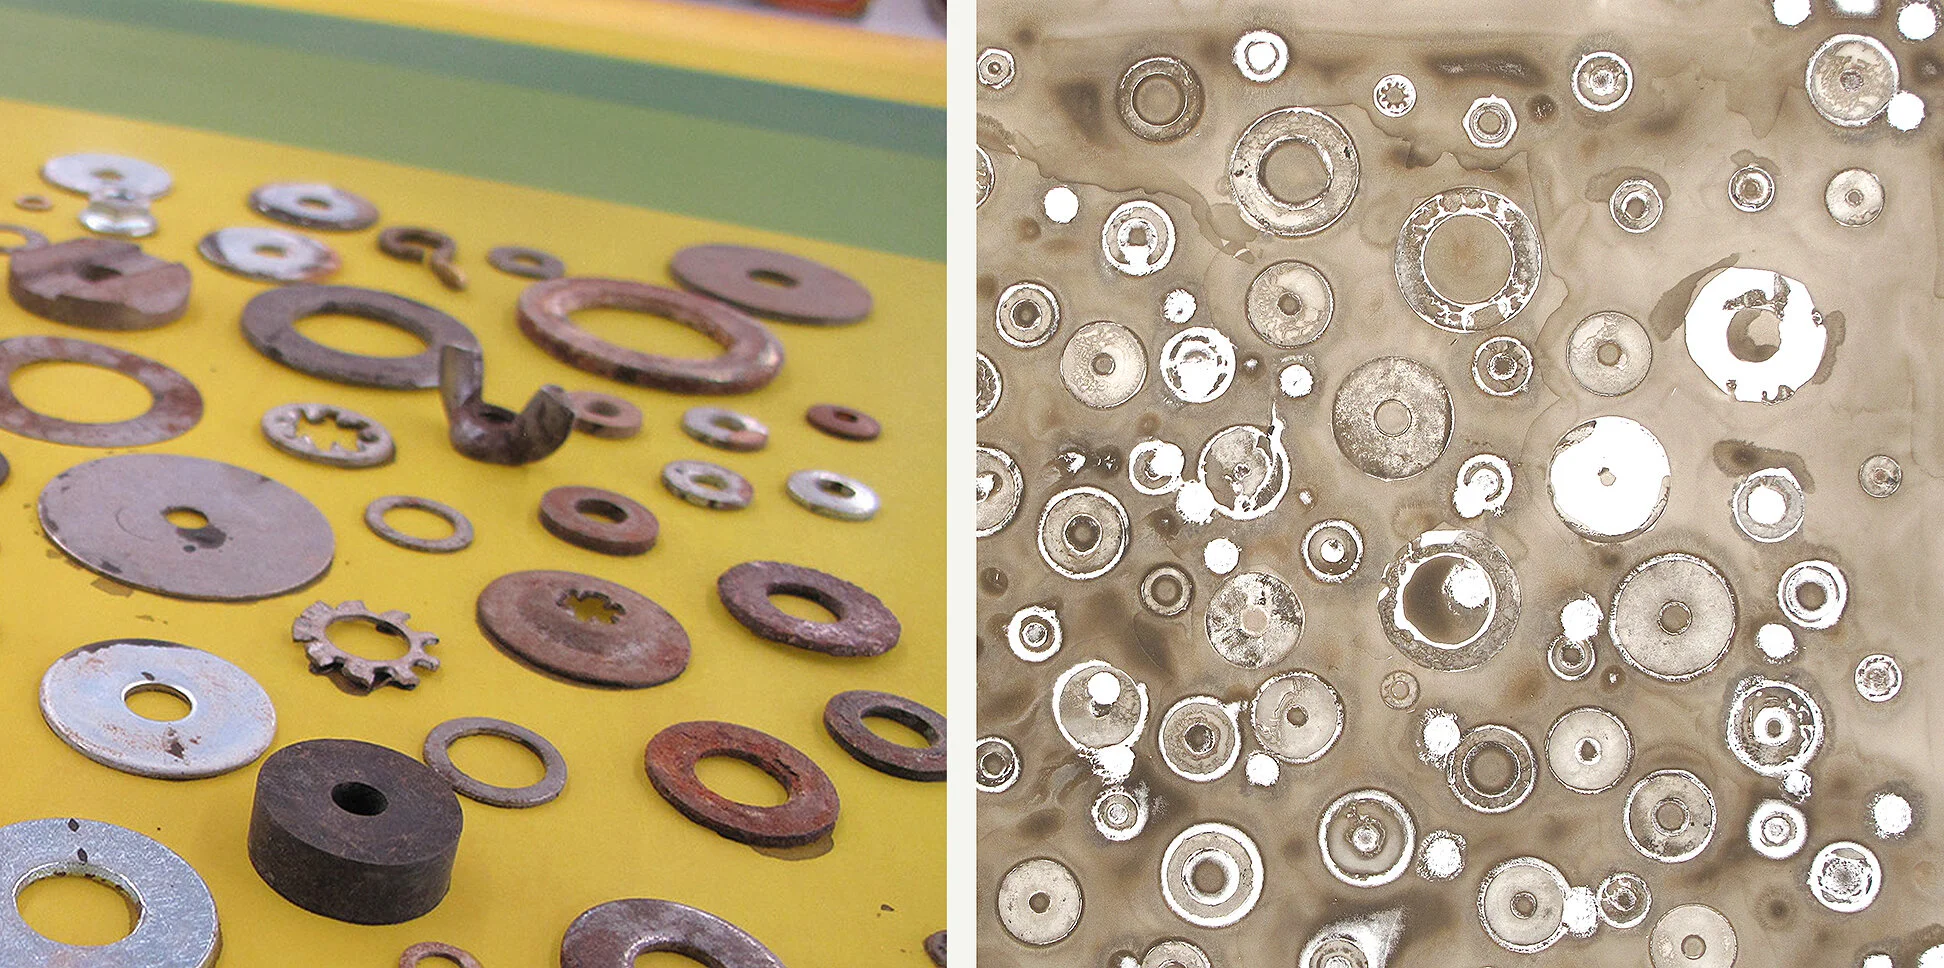
4/7 These objects were laid on the screen and watercolor was brushed in around them and allowed to fully dry. You can see that it seeped under some of the less flat objects. The objects were then removed and the screen printed.
-

5/7 Mixing a tiny bit of dish soap to the watercolor mixture creates this crackly effect.
-

6/7 It will look like this as it dries.
-

7/7 This was made by soaking a thick string in watercolor and laying it on the screen. It was removed once it was dry.

