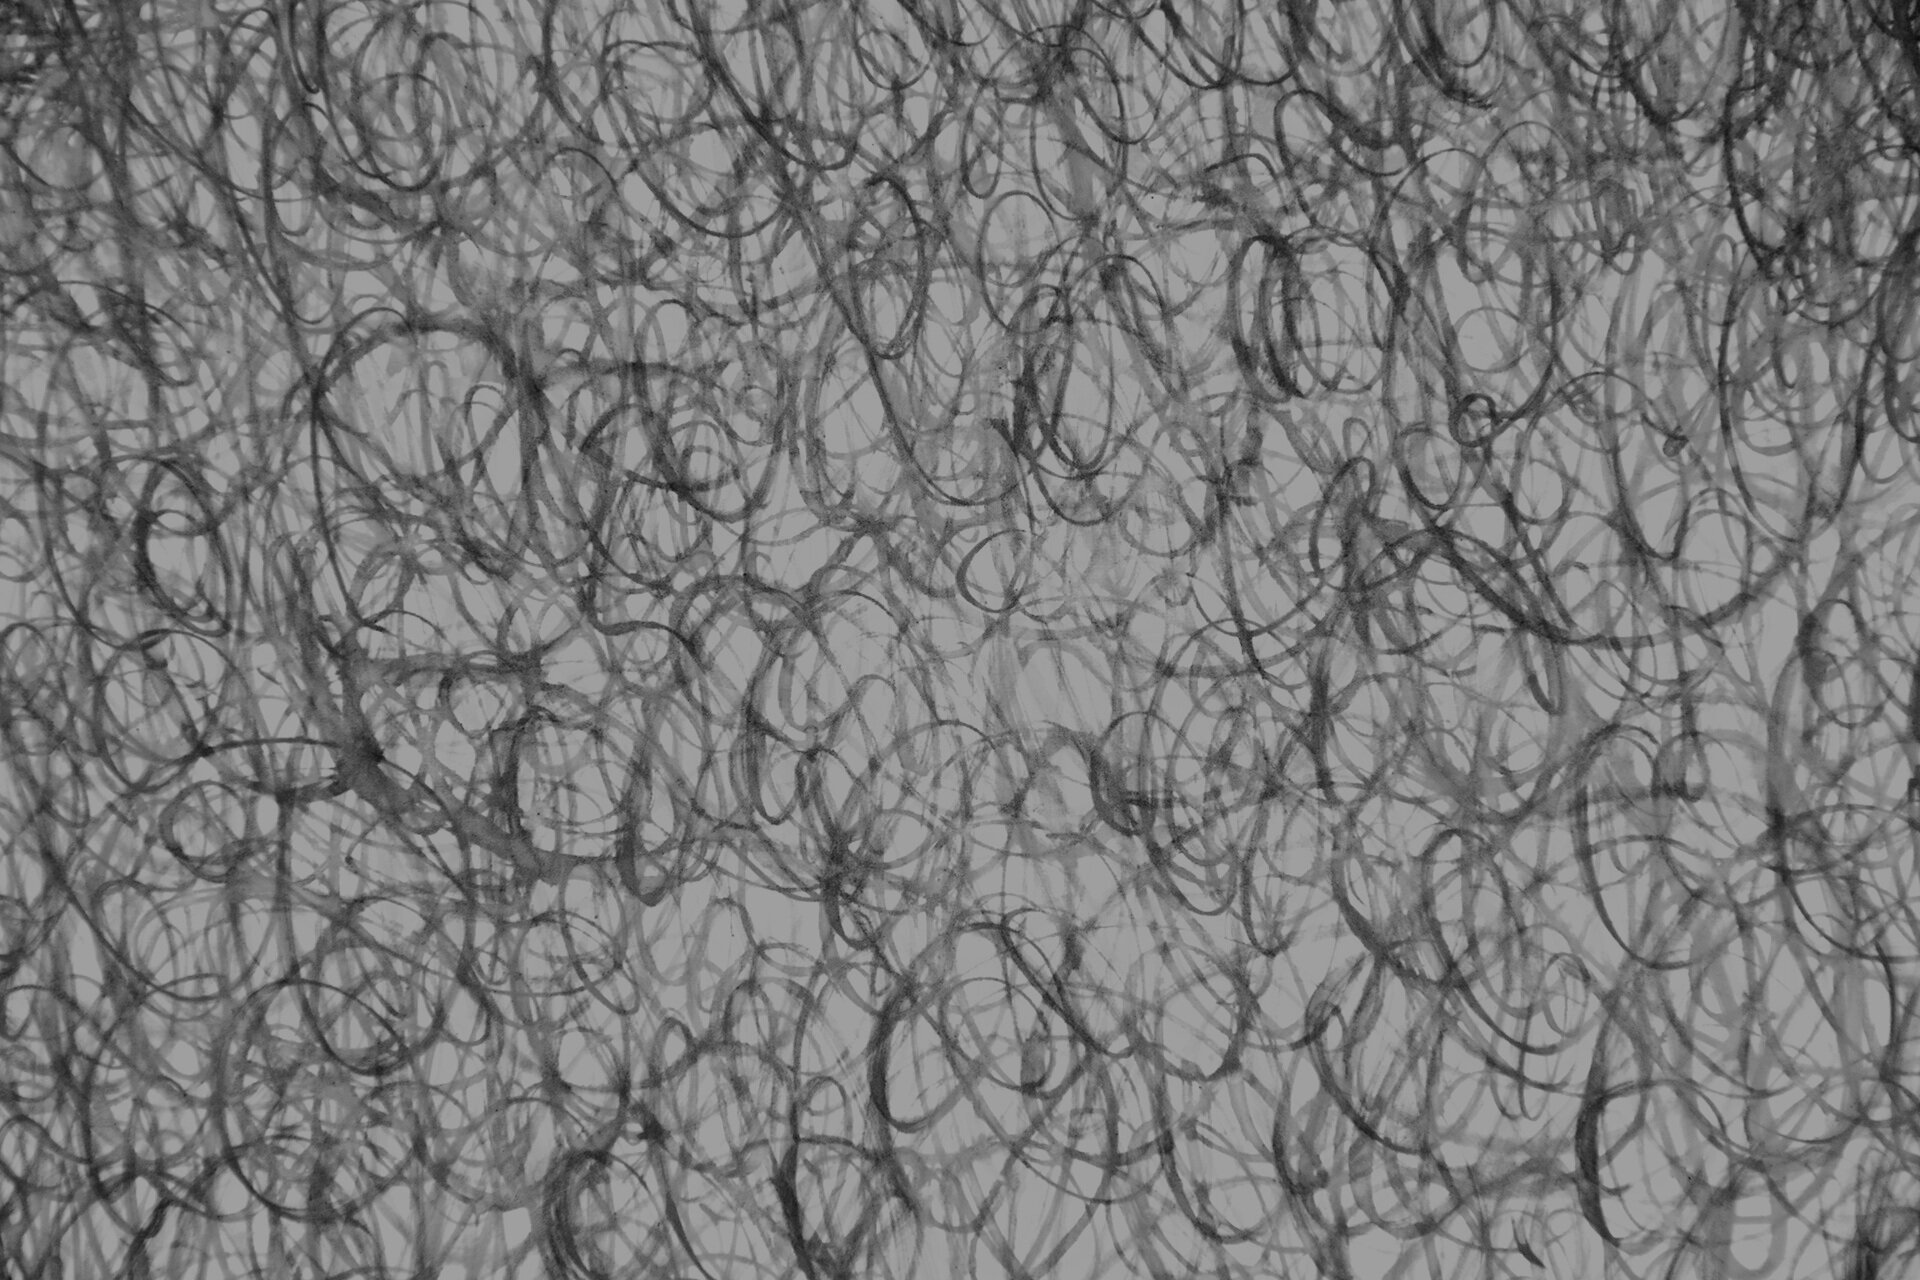
DIRECT DRAWING
Water Soluble Markers
Water soluble markers are one of several materials that can be used to draw directly onto the screen. They react in much the same way as they do on paper, as far as blending, and they provide very vibrant, saturated color. They can be layered and used in combination with any of the various water soluble direct drawing materials.
MATERIALS
Any water soluble (not ‘water-based’) marker will do (crayola washable markers for example). The fresher the marker the better. You want to physically build up the marker on the surface of the screen.
Make sure you have a squeegee that is at least 1-2” wider than the image you are printing.
As far as paper is concerned, the more absorbent the better. Arches 88 Silkscreen paper is like a sponge and picks up the most detail, but there are many other papers that will work as well. A smooth surfaced paper will retain the most accuracy of your image, but textured papers can give their own unique effect tot he image.
PROCESS
Apply the markers to the screen just as you would paper or any other substrate. Layering and blending colors works particularly well as the markers don’t dry as quickly on the screen as they do on paper - so you have some time to work and move things around.
You can print the image right away or let your drawing dry - it works either way. Simply print the image using transparent base for a result most similar to what’s drawn on the screen.
A second image can be taken from the same screen. It will be lighter and less distinct and is referred to as a ‘ghost print’.
Once you are finished printing, wash your screen with a gentle cleaner such as Fantastik or Simple Green. If the markers stain your screen, you can clean the mesh with Magic Erasers or bleach.
ADVANCED MOVES
To tint the image, add a tiny amount of screenprint ink to your transparent base. For a very transparent tint, this might mean 95% transparent base to 5% ink.
-

1/2 You don’t have to work quickly. Time can be taken to achieve impressive detail and rich color.
-

2/2 The blending in the top portion of this image was done using a very light colored marker. A blending marker can also be used if available.
