SQUEEGEE MOVES
Object Interference
It’s possible to transfer the dimensional appearance of an object to a surprising, almost photographic degree.
MATERIALS
This process works best with dark inks. They give the image more contrast, making it appear more dimensional.
Any object can be used as long as it is somewhat flat and not sharp (e.g. a piece of clothing/fabric, an envelope, a low relief collograph plate, etc.). It’s surprising how flat an object can be and still work well (masking tape, vinyl, a de-bossed credit card, etc.)
Matboard chips or a flexible spatula to remove ink from the screen between steps.
PROCESS
Place the object underneath the screen and on top of a piece of proofing paper. This step will create a stencil-like “blank” version of the object. This image is generally pretty uninteresting and will be discarded.
Flood your screen only one time with a solid film of ink (you want opaque ink here, not transparent). Flooding multiple times can create thicker ink in the screen, making the detail of the object less distinct.
Lower your screen and pull/drag the squeegee over the object area, paying attention to the pressure of your squeegee. You may want to use a lighter touch than you would for normal printing. You have to feel the object with the squeegee and every object acts
Lift the screen and remove the object (which may be stuck to the screen -that’s ok) and the proofing paper.
Lay down a good piece of printing paper underneath the screen. This is the version of the image you will want.
Remove any excess ink from the screen. I like to use matboard chips for this.
Flood the screen with clear transparent base. Any colored ink left on the screen could contaminate the transparent base.
Print the image. There should be a lot of detail.
If the first print onto good paper is overly dark, you can remove any contaminated transparent base from the screen, add fresh base, flood the image, and print it again.
ADVANCED MOVES
This process can yield quite a few good ghost prints.
You can tint the transparent base at any point as well.
-

1/8 This progression of prints was made with a piece of torn cheesecloth.
From left to right:
1) Blank image left when printing with the object under the screen
2) Object removed and ink remaining in screen printed dry
3) Transparent base added to screen and image printed
4) More transparent base added to screen and image printed again -
2/8 Peeling the cheesecloth off the screen after the first printing
-

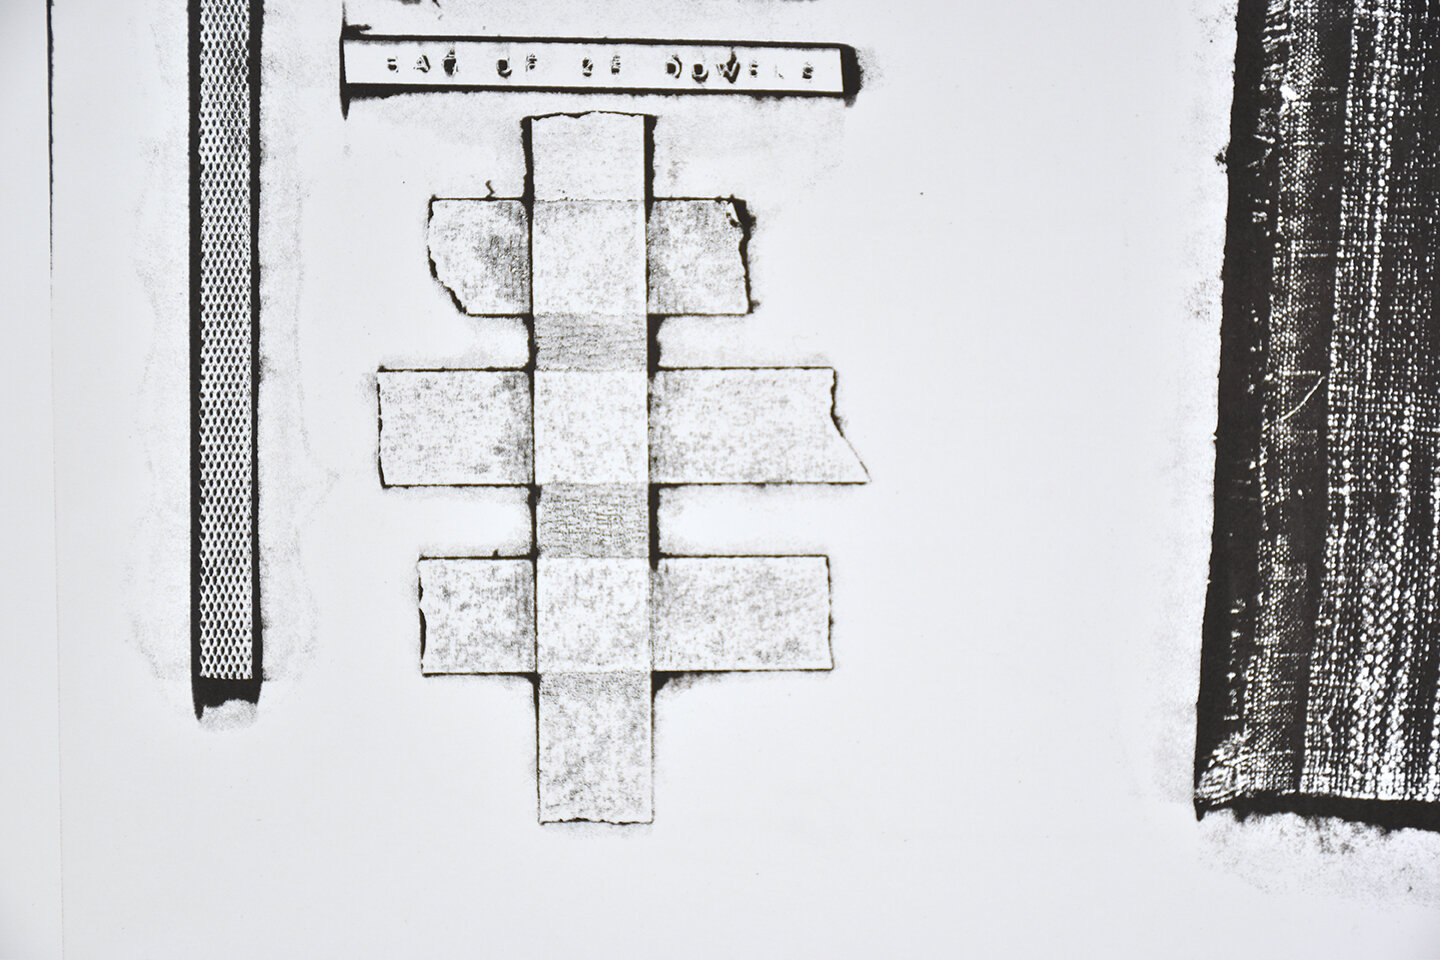
3/8 Amazing detail from masking tape (middle), textured fabric (right), nylon netting (left)
-

4/8 (Left) Thin cardboard strips were taped to a piece of plastic film (Right) The first print taken. Subsequent prints were taken by adding tinted transparent base to the screen.
-

5/8 Result from a vinyl image adhered to paper
-

6/8 Same object, third print using transparent base
-

7/8 Result from a manila envelope
-

8/8 Ziplock bag
