SQUEEGEE MOVES
Irregular Shapes
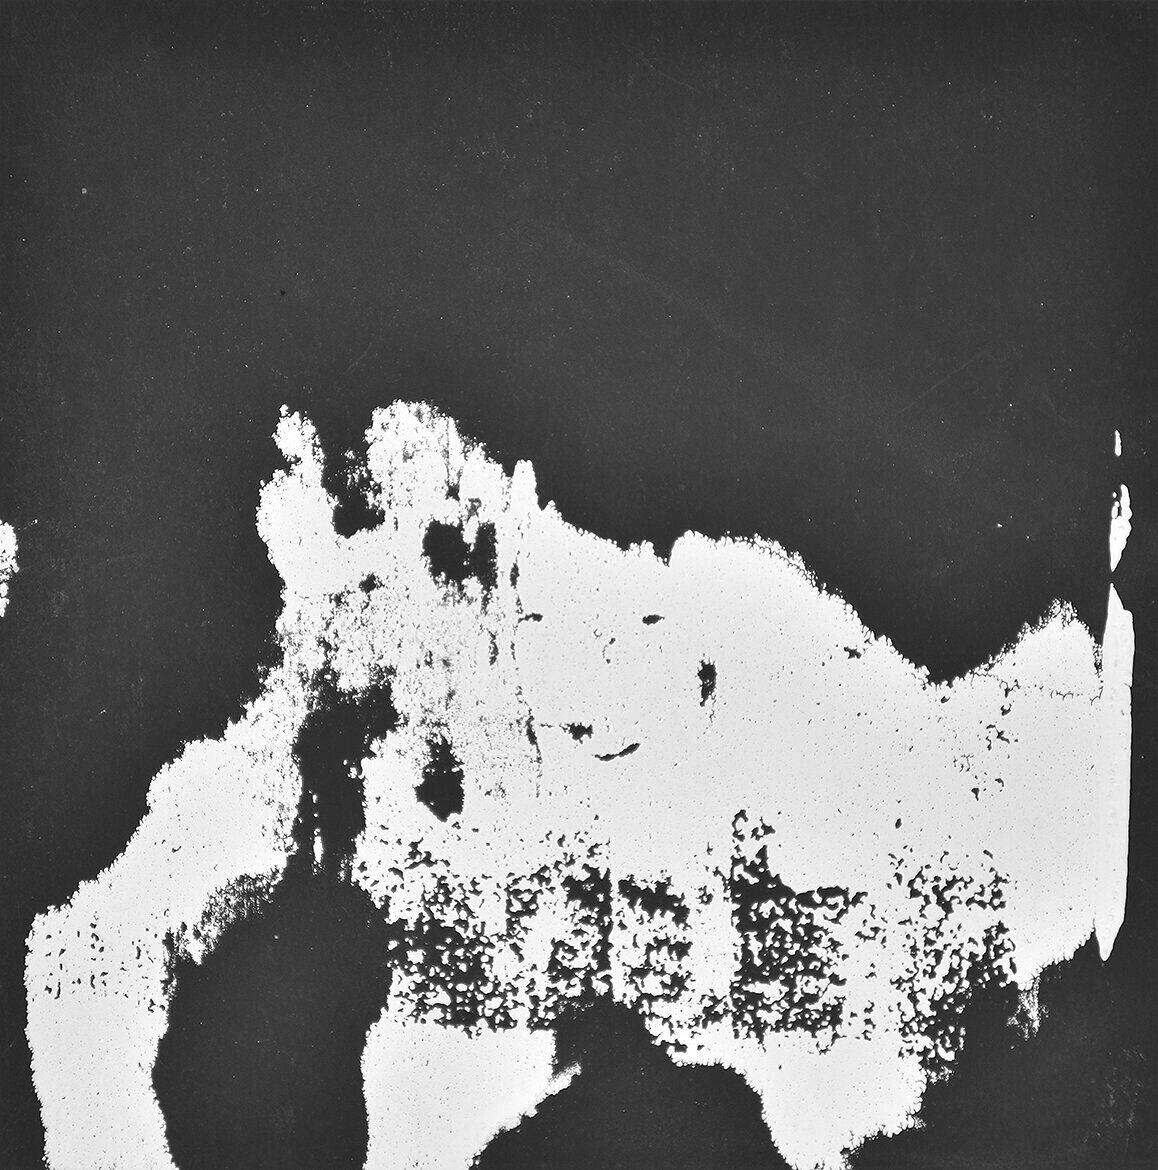
This process creates textural, organic shapes. I would call it semi-controllable.
MATERIALS
Squeegee (wider than image), screenprint ink, proofing paper (I prefer something heavier than newsprint), and an assortment of low relief objects (textured paper, fabric, etc.). If I have some really buckled, wavy proofing paper laying around, I grab that too.
I prefer to use a screen that has some looseness to it rather than something very taught. A higher mesh count is also preferable (200, 230). The tighter weave lets less ink through. Having a basic stencil on the screen (like a rectangle, etc.) can help reign in the ink and prevent it from getting too thick at the edges. Even using tape to mask off an area can help.
I don’t use an off-contact for this process. An off-contact is just an object (I use a pencil) taped to the underside of the screen frame on the side closest to you. It gives you more room between the paper and the screen and prevents the two from sticking together. We want things to stick together.
For paper, I prefer Arches 88 for its absorbent properties. It really captures the most detail. It’s a bit pricey.
PROCESS
Flood your screen. I find that less ink works better for this process. I only flood the image once.
Leave the screen raised.
Place your buckled, wavy proofing paper under the screen, or you can place low objects under different areas of the paper to create unevenness. Don’t use good paper for this step.
Lower the screen. You will see the mesh come into contact with the paper underneath and immediately create unpredictable shapes. If you press down on the mesh of the screen (outside of your image) you can semi-control how far the shapes spread and grow.
When the image is to your liking, lift the screen and remove the proofing paper (and objects if you used them). What remains on the screen is actually the image you want to print.
The next part it about timing and will take some practice. If you print the image that’s left on the screen right away, the ink may be too wet and smear quite a bit when your print it. I like to give the ink a little time to dry before printing. Don’t give it too much time or a it may not print. Like I said - tricky.
Now print the screen. The squeegee must be dry. If there’s a lot of ink on the blade, wipe it off before printing. You don’t want to move any ink that may be sitting on the screen over the image. Go over the image more than once if necessary.
Clean the screen with water and a gentle cleaner such as Fantastik.
ADVANCED MOVES
You can capture a lot of the very faint residual ink in the screen by printing the image with transparent base (tinted if you wish) rather than a dry squeegee. Ghost prints are particularly nice with this process.
If you re-flood the image and continue to create different shapes multiple times, the prints start to take on a richness and complexity. You could even flood with a different color each time to enhance this quality.
-

1/3 Darker inks tend to have more dramatic results.
-

2/3 This image was made with an image stencil already on the screen (the rectangles at the bottom).
-

3/3 Here the process was done with a dark ink first, then the screen was cleaned and re-coated with white ink, and then process was repeated.